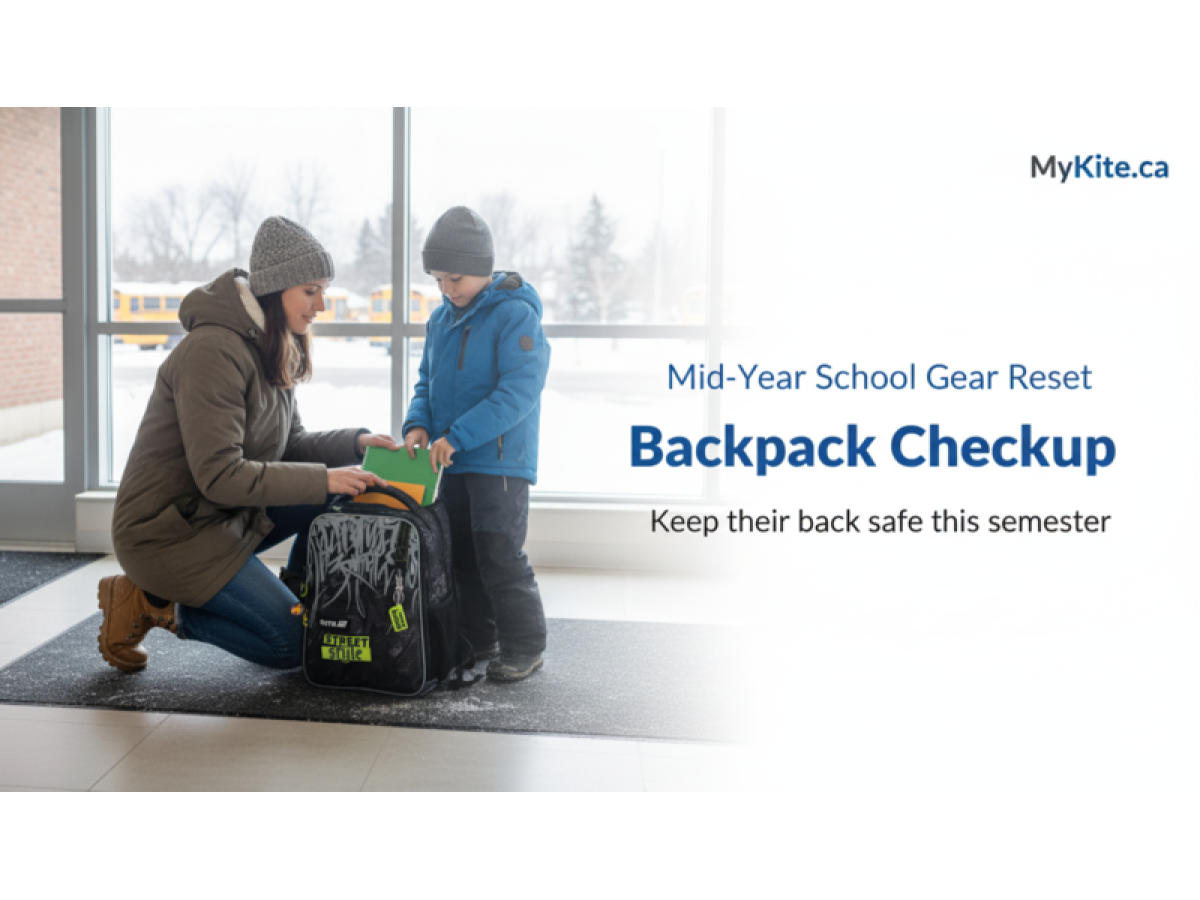
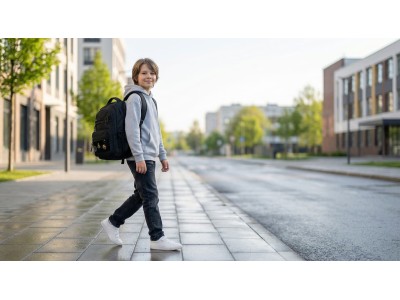
The first half of the school year is already behind us. Back-to-school shopping feels like a distant memory, but your child’s backpack, lunch kit, and school gear have been working hard every single day. Winter layers, heavy textbooks, wet sidewalks and long commutes all leave their mark. That is why a simple mid year backpack checkup in December or January is one of the easiest ways to protect your child’s comfort, posture and motivation for the second semester.
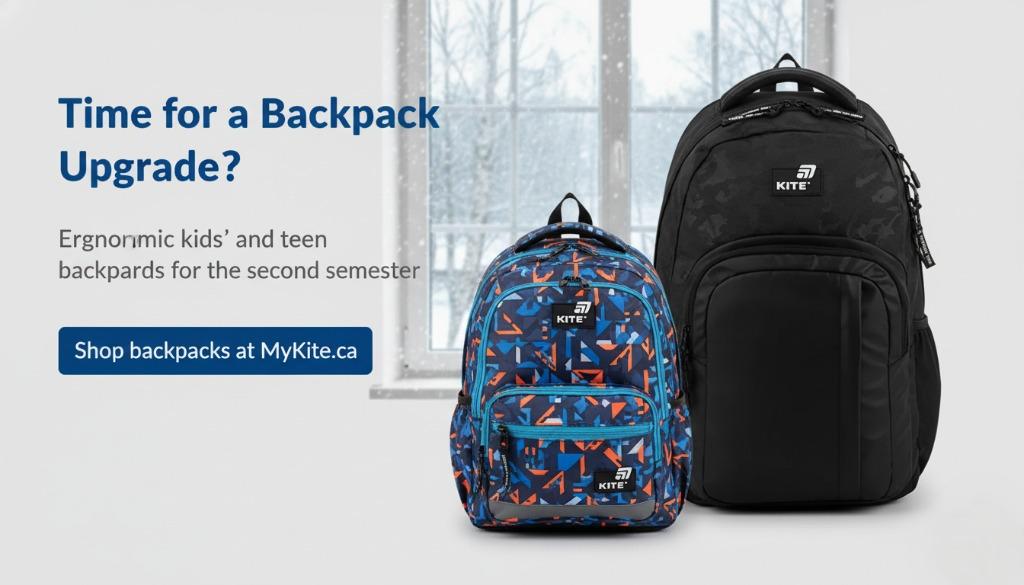
Think of it as a quick but powerful backpack care guide for Canadian families: you are not just looking for lost socks at the bottom of the bag, you are checking that the backpack still fits well, the weight is safe, and the gear is clean, hygienic and ready to support learning – not make it harder. And if you notice that the current bag has reached its limit, you can always explore kids’ ergonomic backpacks and teen & student backpacks designed specifically for growing backs.
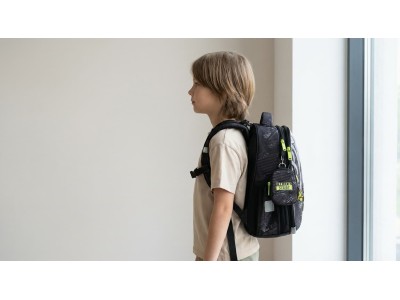
Step 1 — Check the Backpack’s Structure & Comfort
Start your school gear checklist with the item that carries everything else: the backpack. Daily use, Canadian winters, and thick jackets can change how even the best ergonomic school backpacks feel and perform.
Look at the straps and padding:
- Are the shoulder straps still thick and cushioned, or have they flattened out?
- Do the straps sit comfortably over a winter coat, without cutting into the shoulders?
- Are chest or waist straps (if the backpack has them) still working and easy to clip?
Check the back panel and overall fit:
- Does the padded back panel still keep its shape and sit flat against the spine?
- When your child wears the backpack, does it hang higher on the back, or is it sagging low?
- The bottom of the bag should not hang more than about 4 inches (10 cm) below the waist.
Inspect zippers, seams and hardware:
- Open and close all zippers slowly. Notice any sticking, missing teeth or broken pulls.
- Look at the seams where the straps connect to the body of the bag – this is where tearing starts.
- Check side pockets and front pockets, which often get overloaded and stretched.
Finally, do a complete empty-out. Take everything out of the backpack, turn it upside down, shake out crumbs, sand and tiny bits of paper. Wipe the inside with a damp cloth, and gently clean salt stains on the bottom – a very typical Canadian winter problem. This is your first step in regular school bag cleaning.
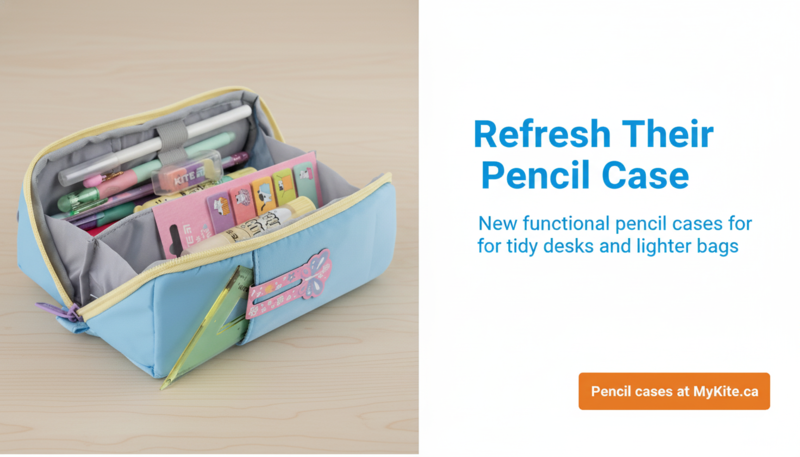
Step 2 — Inspect the Pencil Case & School Tools
Once the backpack itself is under control, move to the pencil case. A small school supplies review can prevent a lot of frustration in the classroom. Nothing is more annoying for a student than arriving ready to work and discovering that every marker is dry and every pencil is a tiny stump.
- Check the pencil case condition: Does the zipper open smoothly? Is the fabric torn inside? If the zipper is sticky, try running a regular pencil (graphite) along the teeth.
- Sort the tools: Throw away broken crayons, dry markers, pens that no longer write, and tiny pencil leftovers that no one uses.
- Sharpen and restock: Sharpen pencil crayons, add at least one reliable pen, a working highlighter, a good eraser and a small sharpener.
- Reduce extra weight: Many kids carry duplicates “just in case”. Keep a basic set at school and store extra items at home.
If you see that the old case is too small, torn or simply no longer practical, it might be a good time to switch to a more functional model from our selection of Kite pencil cases.
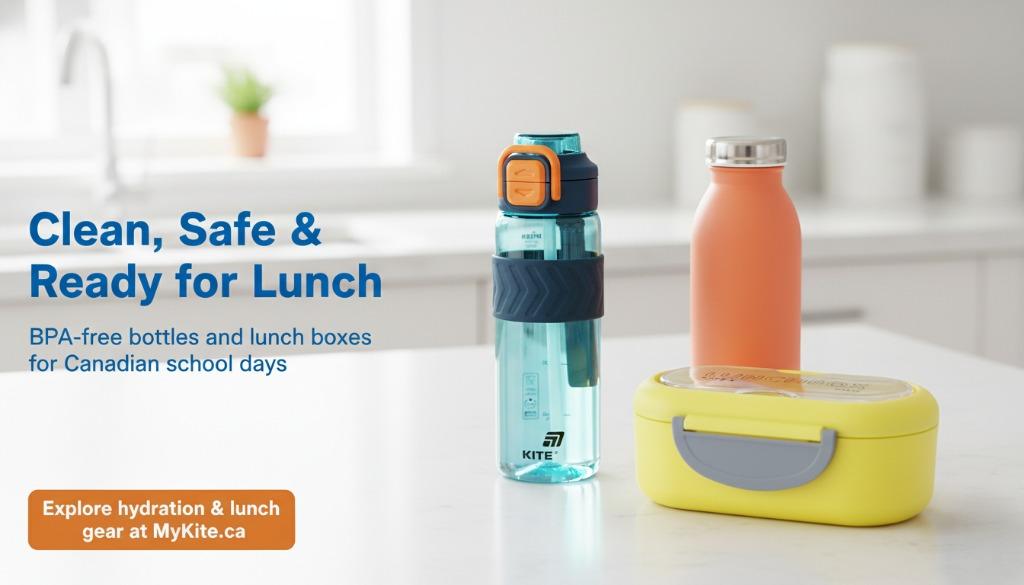
Step 3 — Review Water Bottle, Lunch Box & Thermos
Next, take a closer look at everything connected to food and hydration: the water bottle, lunch box and thermos. These items go through a lot of temperature changes during a Canadian school day, so hygiene really matters.
Deep-clean the lunch box:
- Check seams, corners and under seals for any dried food or visible mould.
- Wash with warm water and mild soap or baking soda, paying special attention to rubber seals.
- If the smell does not go away even after cleaning, it is time to replace the lunch box.
Disassemble and wash the water bottle:
- Take apart the straw, spout or flip-top lid – these are hotspots for bacteria.
- Use a thin bottle brush to clean inside narrow parts.
- Rinse very well and let everything air-dry completely before reassembling.
Test the thermos:
- Fill it with boiling water, close the lid and leave it for about an hour.
- If the outside becomes very hot, the insulation is no longer effective.
- Poor insulation means food may not stay hot enough, which is a food safety issue in winter.
If your child’s bottle constantly leaks or the lunch box never smells fresh anymore, consider updating them with more reliable options from our collection of BPA-free water bottles and practical lunch boxes.
Step 4 — Organize Papers, Folders & Notebooks
Now it is time to tackle the paper chaos. Over the months, projects, tests and random worksheets slowly build up. This adds weight and makes it harder for your child to find what they need.
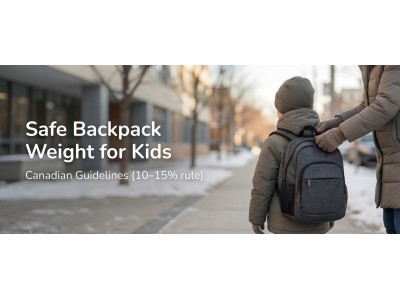
Health professionals often recommend that a kids backpack in Canada should not weigh more than 10–15% of the child’s body weight. Decluttering papers is one of the simplest ways to stay within this limit.
- Take out all folders, notebooks and loose papers from the backpack.
- Create three piles at the table: “Keep at school”, “Store at home”, “Recycle”.
- File important tests and projects into a home binder instead of carrying them all year.
- Refill loose-leaf paper if needed and check if any notebooks are almost full.
Step 5 — Identify What Needs to Be Replaced
After your review, you will see a clear picture: which items still work perfectly, which can be repaired, and which should be replaced before the second semester. This turns your mid year backpack checkup into a practical action plan instead of just a cleaning session.
| Item Type | Signs of Wear | Suggested Action |
|---|---|---|
| Backpack | Broken zippers, torn seams, flattened back padding, damaged straps. | Upgrade to a high-quality ergonomic school backpack with proper support – for example from our kids’ backpacks or teen backpacks. |
| Zippers & Buckles | Zippers that stick, missing teeth, broken pulls, cracked buckles. | Repair or replace hardware if the rest of the bag is still in good condition. |
| Lunch Box | Persistent odour, cracked plastic, peeling insulation, loose lid. | Replace immediately for food safety and easier daily cleaning. |
| Water Bottle / Thermos | Leaks, damaged seals, rust, poor temperature retention. | Choose a BPA-free, well-insulated model designed for kids from our water bottle collection. |
| School Supplies | Dried markers, worn erasers, very short pencils, broken rulers. | Use a simple school supplies review to restock only what is truly needed. |
This is also a good time to check if your child’s routine has changed. For example, if they now carry a laptop or tablet, consider a backpack with a padded device pocket and extra support.
Step 6 — Make It a Small Family Ritual
For many families, this second semester prep becomes a small, positive ritual. Instead of doing everything alone, invite your child to join the process.
- Explain why you are doing the checkup – to protect their back and make school mornings easier.
- Let them decide which drawings or projects they want to keep in a home folder.
- Ask what worked well in the first semester and what did not – sometimes a simple change in layout or pocket use solves daily irritations.
When kids help clean, sort and repack their bag, they feel more in control and more connected to their school day. What starts as “parents back to school tips” slowly turns into your child’s own habit of staying organized.
Final Tips for a Smooth Second Semester
A mid-year backpack checkup is not about perfection. It is about creating a lighter, healthier and more intentional school routine for your child. A few extra ideas:
- Do a quick mini-check once a week: remove trash, take out the lunch kit, repack notebooks.
- Set a “backpack parking spot” at home so the bag is not dropped randomly on the floor.
- Watch your child’s posture when they put on the bag – leaning forward or struggling means the bag is too heavy or the fit is wrong.
- If you notice ongoing discomfort, look for a better-fitting, ergonomic model designed for growing backs, such as Kite kids’ backpacks and student backpacks.
With a bit of planning and a calm look at what needs to stay, what can go, and what should be replaced, you turn the second half of the school year into a much smoother, more confident experience for both you and your child.
Frequently Asked Questions
How often should I check my child’s backpack?
A full review every 4–6 weeks is ideal, especially during the winter months. If the backpack feels very heavy to you when you lift it, it is almost certainly too heavy for your child.
Can I machine wash my child’s backpack?
Always read the care label first. Many backpacks prefer gentle hand washing. If machine washing is allowed, use a delicate cycle, place the bag in a laundry bag or pillowcase and always air-dry it completely.
What weight should my child’s backpack be?
Health professionals often recommend keeping it under 10–15% of your child’s body weight. Weigh the packed bag on a regular scale to check. If you are consistently over that limit, remove non-essential items.
How do I prevent odours in a school bag?
Remove the lunch kit daily, clean spills quickly and let the backpack dry out with pockets open. A gentle clean with warm water and a bit of vinegar or baking soda also helps keep smells under control.
What is a good ergonomic backpack option in Canada?
Look for models with padded, adjustable straps, a structured back panel and thoughtful internal organization. Brands like Kite focus on ergonomic design for kids and teens, making it easier to carry school gear comfortably in Canadian conditions.


Write a comment